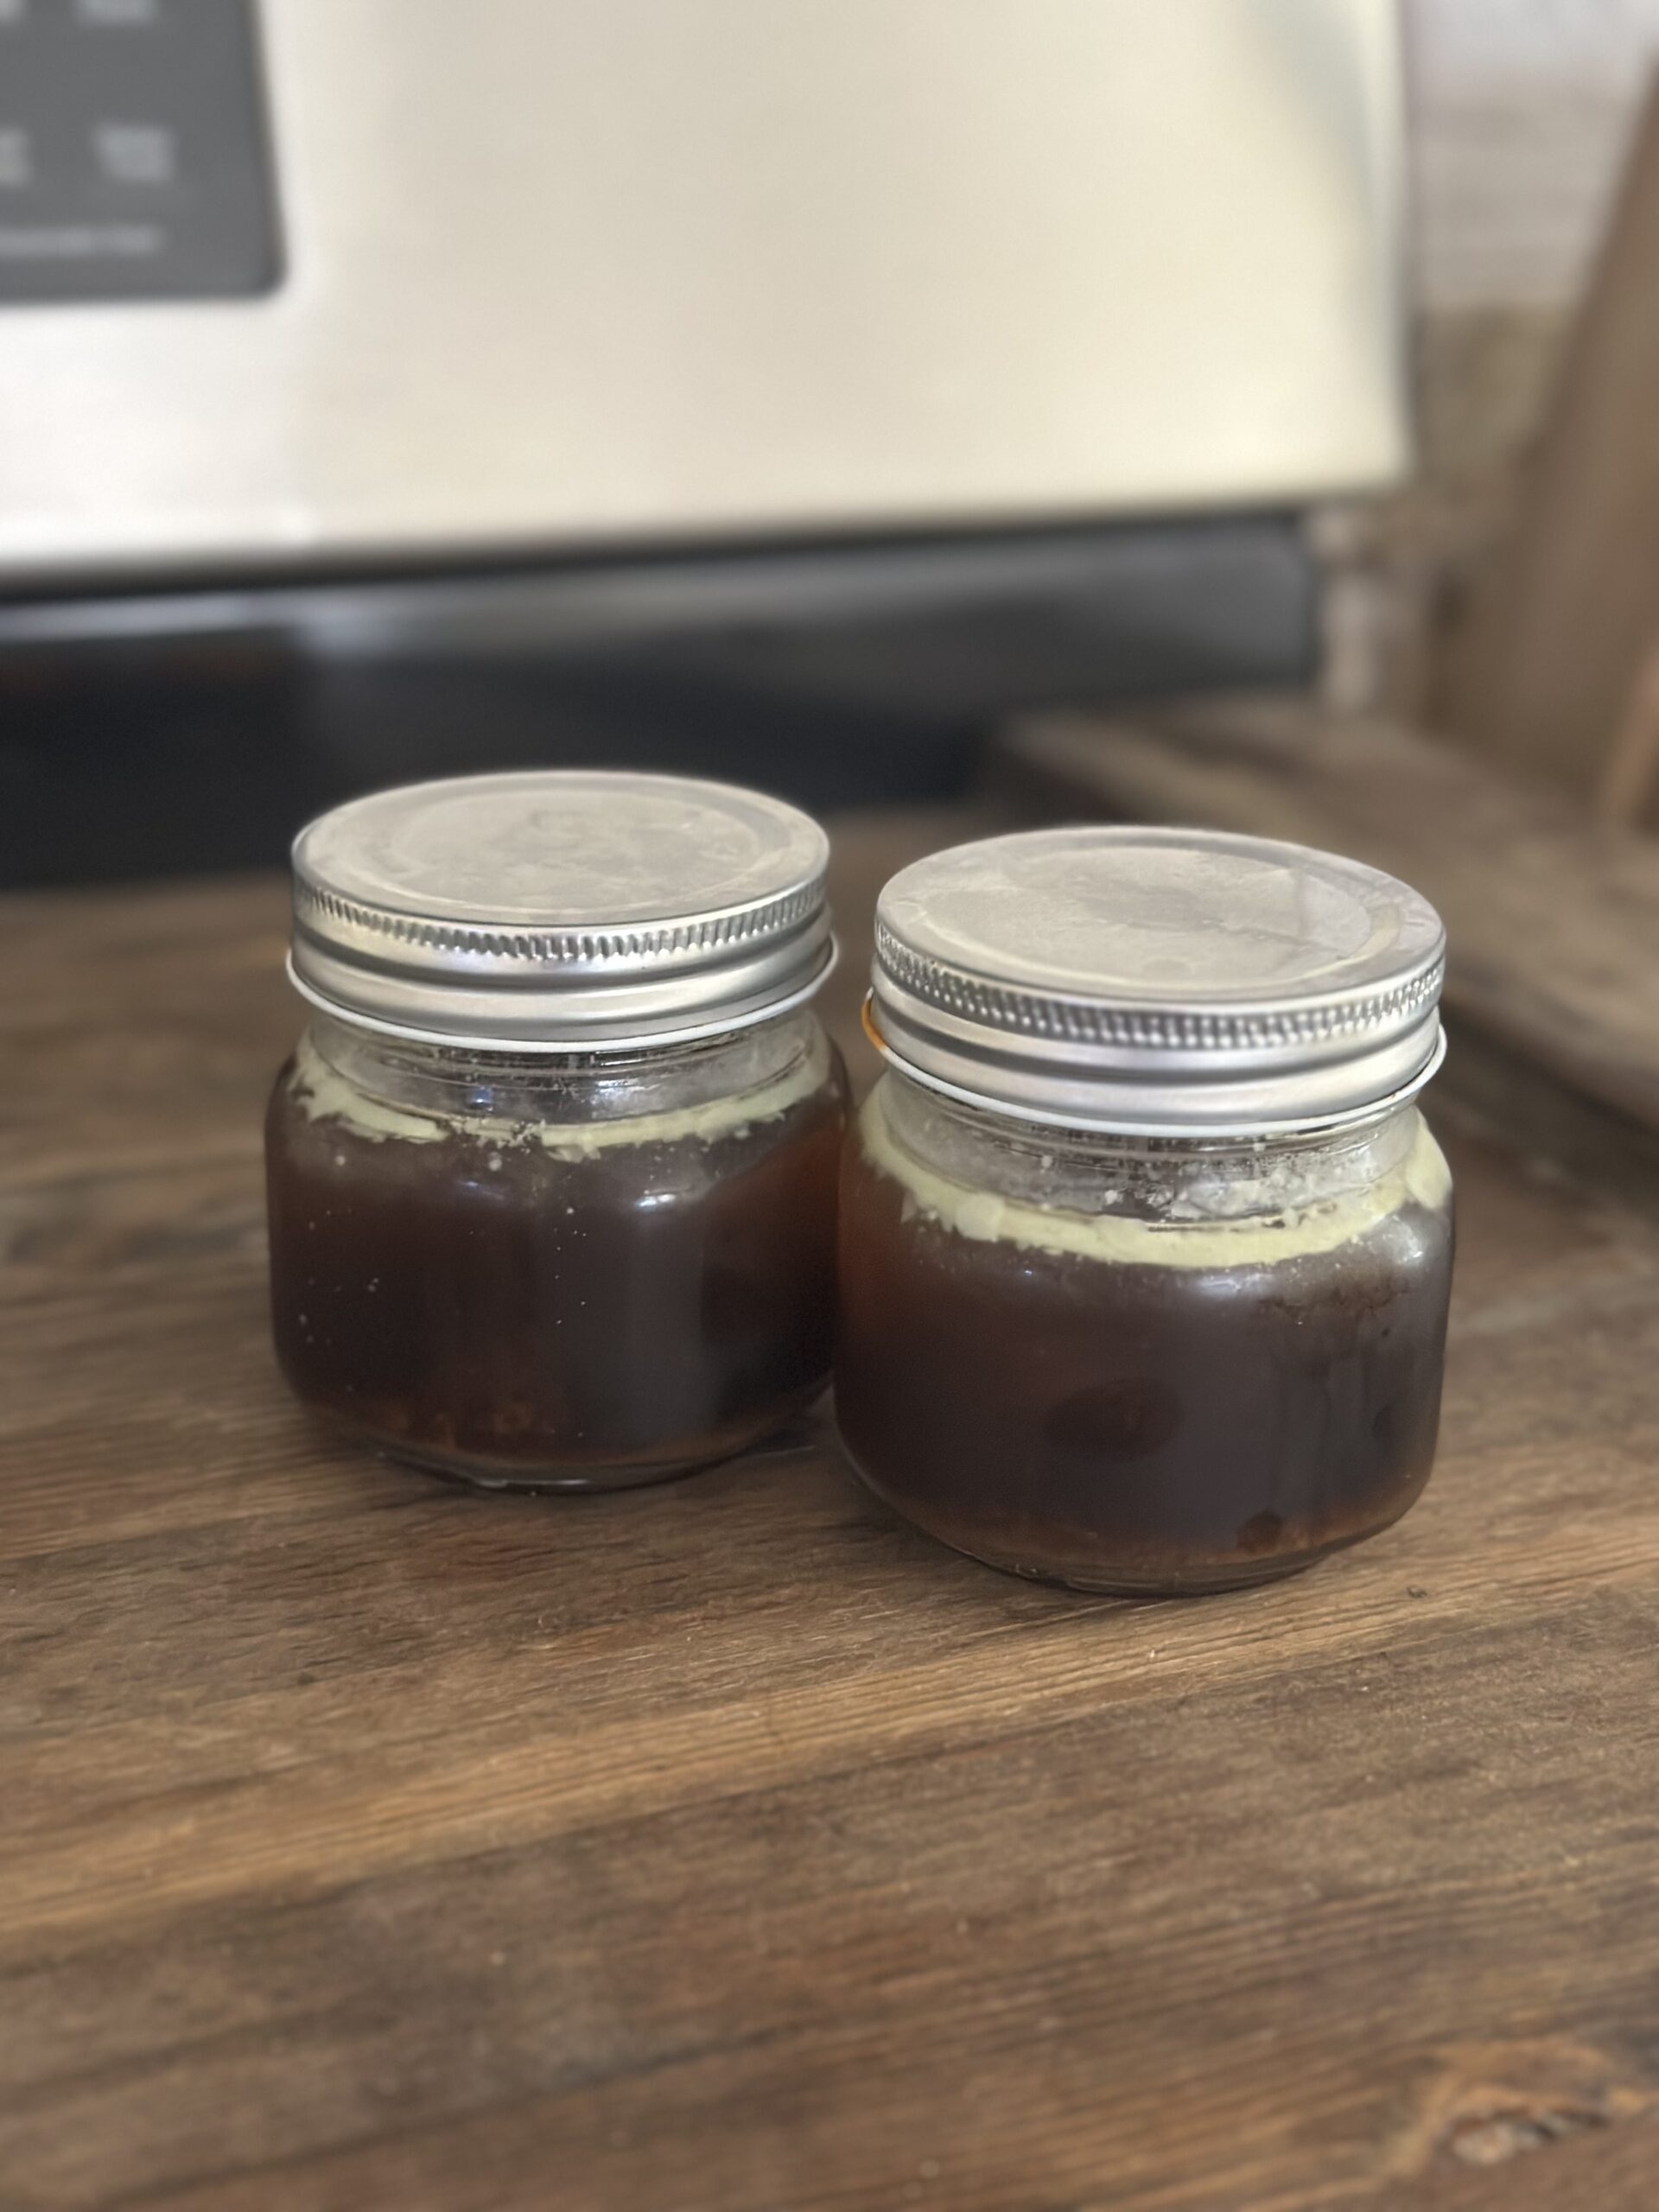
Wagyu Beef Bone Broth
WAGYU BEEF BONE BROTH HEALTH BENEFITS & RECIPE
Homemade beef bone broth made from American Akaushi Wagyu cattle offers a number of benefits that can elevate the flavor and nutrition of your bone broth recipe. Here are the key benefits of adding it:
- Superior Flavor: The high marbling of Wagyu beef adds a rich, umami taste and a smooth, silky texture to the broth.
- Nutrient-Dense: Akaushi Wagyu bones provide more collagen, minerals, and gelatin, supporting joint, skin, and gut health.
- Healthy Fats: The broth contains omega-3 fatty acids and monounsaturated fats, promoting heart health and reducing inflammation.
- Gut Health: Gelatin from the bones helps seal the gut lining and supports digestion.
- Electrolyte Balance: The broth is rich in electrolytes like potassium, magnesium, and sodium, aiding hydration.
- Anti-Inflammatory: Amino acids and omega-3s in the broth reduce inflammation and support healing.
- Protein: It provides a healthy source of protein to aid muscle recovery and repair.
- Skin, Hair, and Nails: Collagen in the broth promotes healthier skin, hair, and nails.
- Premium Quality: Using Wagyu bones adds a gourmet touch, making the broth a luxurious, nutrient-packed treat.
Wagyu Bone Broth Recipe
Ingredients
- 5 pounds beef bones – preferably a mix of marrow bones (femur bones) and bones with meat on them (oxtail, short ribs, and osso buco)*
- 2 large carrots – chopped into 2-inch pieces
- 1 medium onions – quartered
- 1 whole heads garlic – halved crosswise
- 3 stalks celery – cut into 2-inch pieces
- 2 bay leaves
- 2 tbsp black peppercorns
- 1 tablespoon apple cider vinegar
Instructions
1. Blanch the bones. In a large stockpots and cover with cold water. Bring to a boil over high heat and simmer for 15-20 minutes before draining and rinsing the bones with water.
2. Roast the bones. Preheat the oven to 450 degrees F. Transfer the bones to the roasting pans. Roast for 30 minutes before turning the bones and roast for an additional 15-30 minutes more.
3. Transfer the bones to a clean stockpots and add the vegetables. Make sure you wash your pots after the bones were blanched and drained if using the same pot.
4. Boil the bones. Add the bay leaves, peppercorns, and apple cider vinegar to the pot and fill with approximately 6 cups water, or until bones are fully submerged. Cover the pot and bring to a low and gently boil.
5. Simmer the bones. Reduce heat to low and simmer, with the lid slightly ajar, skimming any foam or excess fat, occasionally. Simmer for at least 24 hours. Add more water if needed to make sure bones and vegetables remain fully submerged.
6. Strain the bones. Once the bones have simmered and your broth is ready, you will need to strain the broth. Set aside the broth to cool and allow the bones to cool.
7. Don’t forget about the meat. Whether you eat the meat still left on the bones in a bowl of soup or in sandwiches, I can almost guarantee that there is a TON of delicious meat waiting to be picked from the bones. Don’t let it go to waste! Discard the meat-free bones and vegetables.
8. Skim the fat from your broth. Transfer broth to the refrigerator and allow broth to cool fully. The result will be a hard, thick layer of fat and a bottom layer that is your bone broth. Add to a jar and refrigerate for up to 7 days or freeze for up to 6 months.


